Writing My Own Dithering Algorithm in Racket
Nowadays, black-and-white images seem to be a thing of the past. In an age where we're constantly surrounded by screens that can easily display all 16.7 million colors in the RGB color space, it's not hard to see why that might be the case.
So, why would anyone care about black-and-white images in 2025?
Well, I'd probably have asked the same question a little over a month ago. But, in January of this year, I built Guten, a device that relies on an embedded thermal printer to roll out my own custom newspaper at 7:00 AM every morning. While building this fun little project, I realized that if I wanted Guten to print out an image, it would need to contain only black and white pixels.
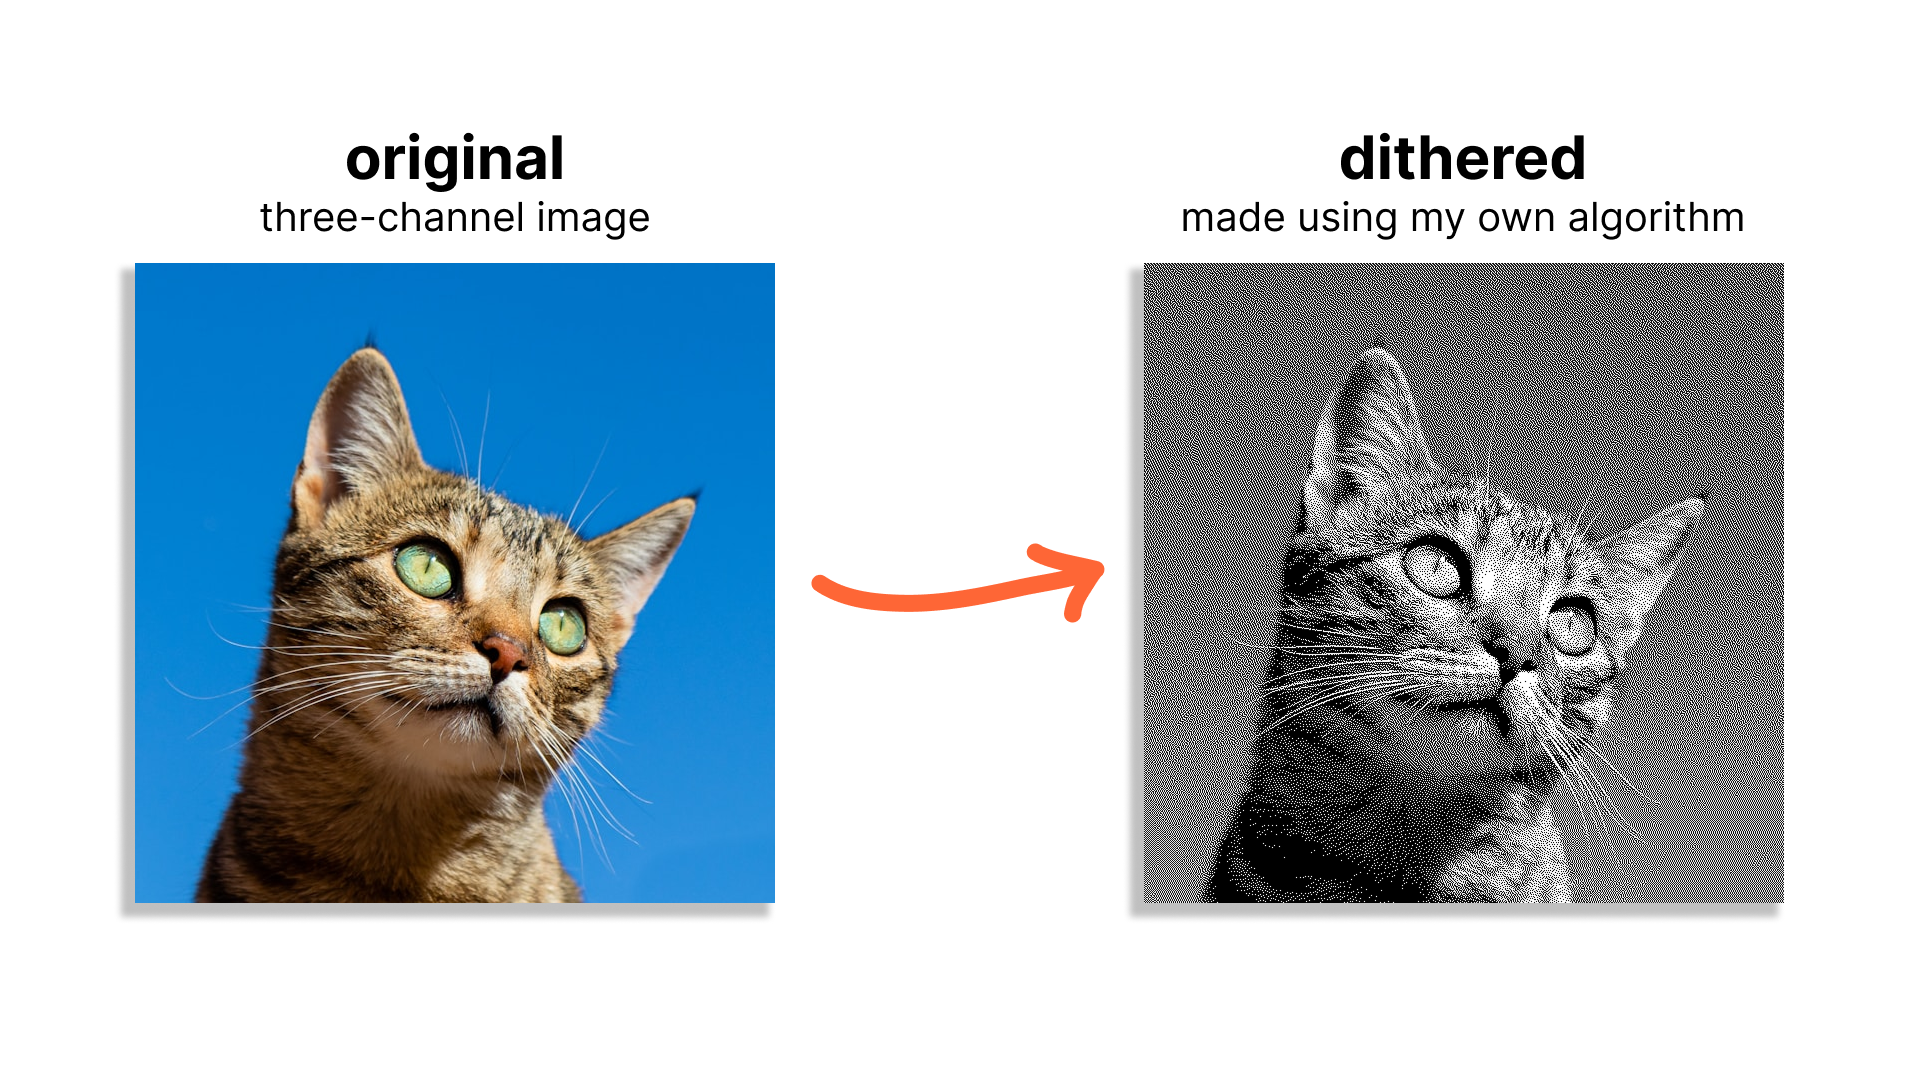
I had a tough time grappling with this reality... how was I meant to take a cute, three-channel photo of a cat and get it to properly print from my printer?

This article covers the solution to this problem of mine: image dithering. Along the way, I'll also try to walk you through my journey implementing a new dithering algorithm in the Racket programming language.
What's image dithering?
Image dithering is a technique used to represent an image reliant upon a large color palette (RGB, for instance) using a much smaller color palette (in our case, black-and-white) such that the human eye perceives the new image as having more color depth than it actually does.
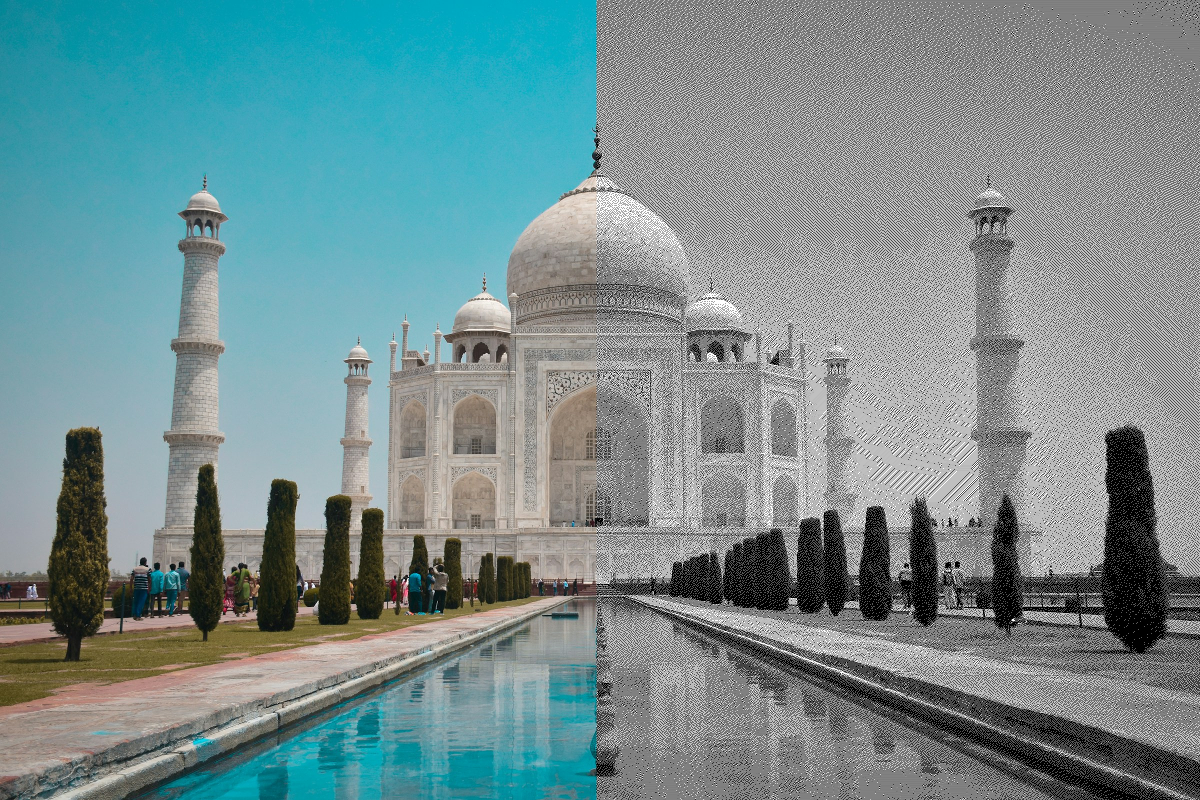
Here's a side-by-side comparison of a color photo of the Taj Mahal and a dithered version of the same photo:
To properly understand how dithering works, we'll first have to talk about grayscale.
Going grayscale
Before we can even begin to work on our dithering algorithm, we need to turn our colorful cat photo (which I'll be using as an example throughout this blog post) into one that's composed of just whites, grays, and blacks.
In other words, we need to transform each pixel in our image into one where the values for the red, green, and blue channels are all the same:
The naive way to do this would be to set any given pixel to the average of its three RGB values:
But, we can also use this fancy formula to perform the conversion, which assigns coefficients to each RGB component based on its relative contribution to the perceived luminance of the color as a whole:
The Racket code for implementing that last formula to convert an image into grayscale looks something like this (note: all code shown from here on out can also be found on GitHub):
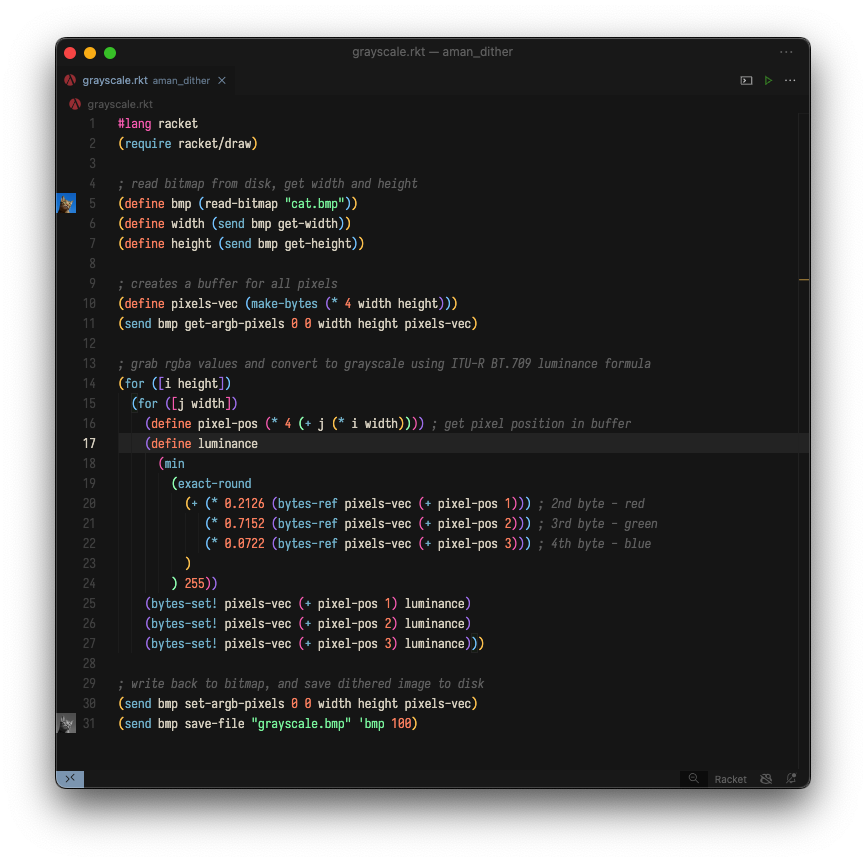
This program uses the Racket Drawing Toolkit to load in a bitmap from the disk and then proceeds to create a buffer for storing information for each pixel in the bitmap.
The bitmap is traversed row by row, from left to right, and each pixel's RGB value is converted into a luma value using the conversion formula (note: after posting this article to Hacker News, helpful community members have pointed out that this implementation does not additionally linearize the sRGB input image, meaning that the final dithered image will end up appearing "brighter" than it should).
The pixel buffer is then written to a new file and saved to the disk. Running the code above on our original cat photo gets us this:
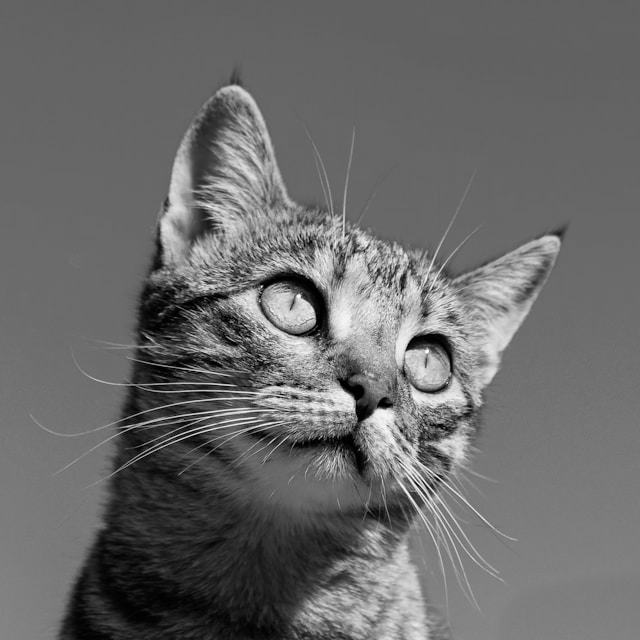
Great — on to the next step!
Thresholding
Now that each pixel in our bitmap is in the grayscale range, we might consider rounding pixels down to black or up to white depending on how close they are to either color.
This is called thresholding (or "average dithering"). As the name suggests, we can pick an arbitrary threshold (i.e., a number from 0 to 255) that will determine if any given pixel becomes black or white in the new image.
For instance, if we set our threshold to the halfway point between 0 and 255, then...
because 101 is ≤ 127.
The code for this algorithm is as follows:
It's almost the same as the code for grayscale conversion, except for lines 25-28, where the color value is set to either black or white based on our threshold (exactly halfway between 0 and 255).
This program outputs the following image:
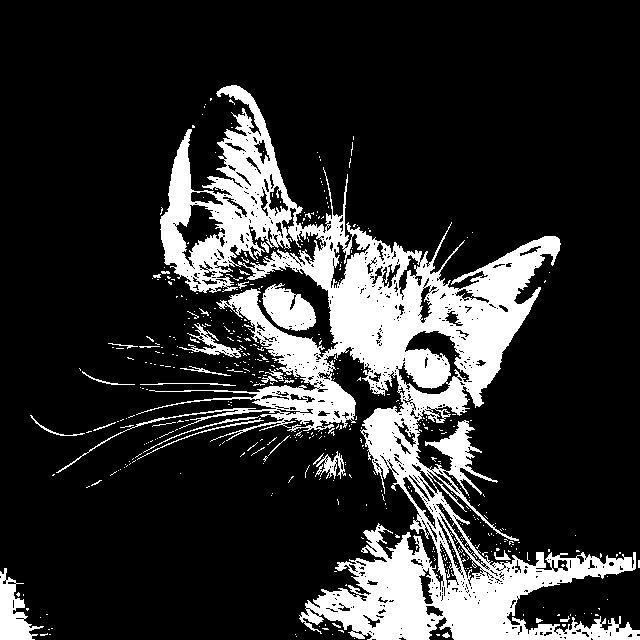
Yeah... thresholding is not that great. Pretty much the entirety of the sky is now black in the new image, which ends up blending in with part of the cat.
This is definitely a start, though! Thresholding has finally gotten us an image that a thermal printer can actually print. Let's move on to a more complex dithering algorithm that will hopefully give us better results.
Error-diffusion dithering
Imagine that we're traversing a grayscale bitmap, row by row, going from left to right in each row. For each pixel we process, we still need to make a binary decision: picking either black or white as the color for the pixel.
But, instead of discarding the actual luminance/grayscale value of each pixel and simply rounding it up or down, what if we do something with the difference between the pixel's true luminance and the binary black or white value we're forced to choose?
This is the basis of error-diffusion dithering! Unlike thresholding, which considers each pixel individually when performing the conversion to black-and-white, error-diffusion dithering spreads (or "diffuses") the "quantization error" (i.e. that difference we were talking about earlier) of each pixel to any of its unprocessed neighbors.
This ensures that the neighbors of a pixel that's, say, been rounded downwards have an increased chance of being rounded upwards, such that on average, the quantization error is reduced.

In the diagram above, we're currently processing the pixel shaded in blue, and the arrows represent all of the neighboring pixels that we've chosen to diffuse the error to.
The particular set of neighboring pixels we've chosen is quite arbitrary, but any neighboring pixel we include in our diffusion pattern must be one that we haven't processed yet. In our example, this means that we can't diffuse the error of our chosen pixel to the two pixels marked with red X's.
Outside of this restriction, though, any set of neighboring pixels can be used in a dithering algorithm, and in fact, this is a key distinction between different algorithms!
Atkinson dithering
Consider Atkinson dithering, an error-diffusion dithering algorithm devised by Bill Atkinson for use within the original Macintosh computer. It relies on the following diffusion pattern:

One-eighth of the quantization error of a particular pixel is diffused to each of the six neighboring pixels shown above.
Here's a concrete example of error-diffusion dithering using the Atkinson algorithm: if we have a pixel with a luminance/grayscale value of 178, we'd first decide to set this pixel to white (255). We'd use these two numbers to calculate the error for this pixel...
...and we'd then multiply this error by one-eighth:
Finally, we'd distribute/add this error (-9.625) to each of the six neighboring pixels shown in the diagram. Notice that Atkinson dithering diffuses three-fourths of any given pixel's quantization error outward:
Take a look at the first half of this Racket implementation of the Atkinson dither:
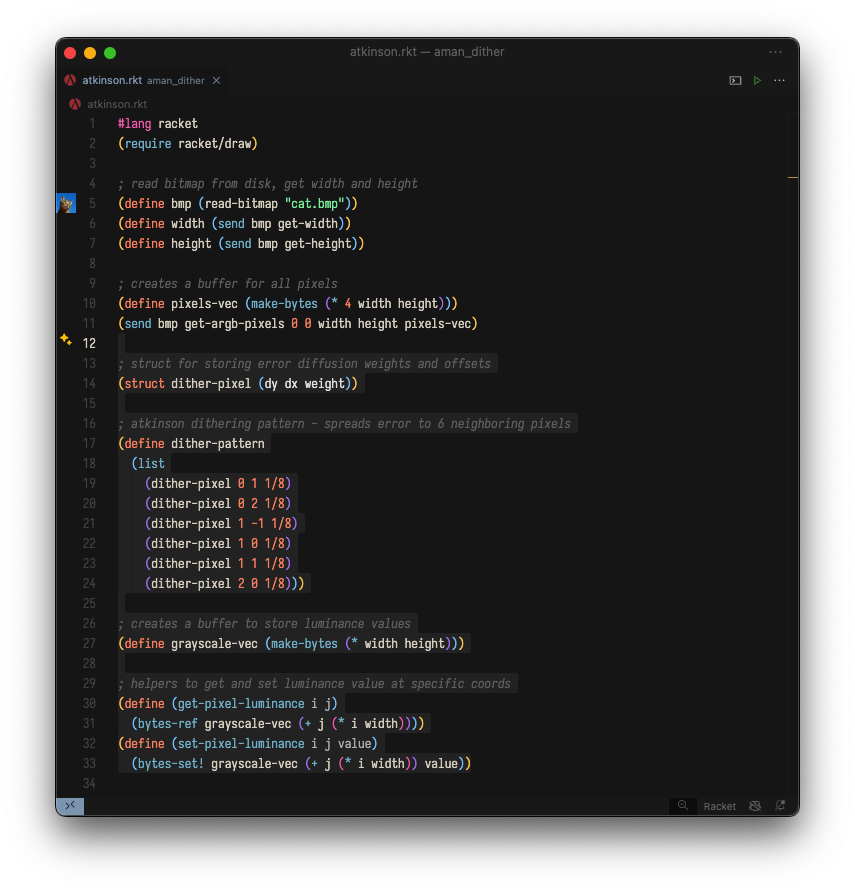
Lines 13-33 are new: we create a struct for storing offsets/weights for error-diffusion, we make a list of these structs to represent the error-diffusion pattern used in Atkinson's algorithm, and we create a new intermediate buffer (plus some helper methods) to abstract away some of the byte-level operations.
On to the meat and potatoes of this program!
Here's the main loop that performs error-diffusion for each pixel in the bitmap:
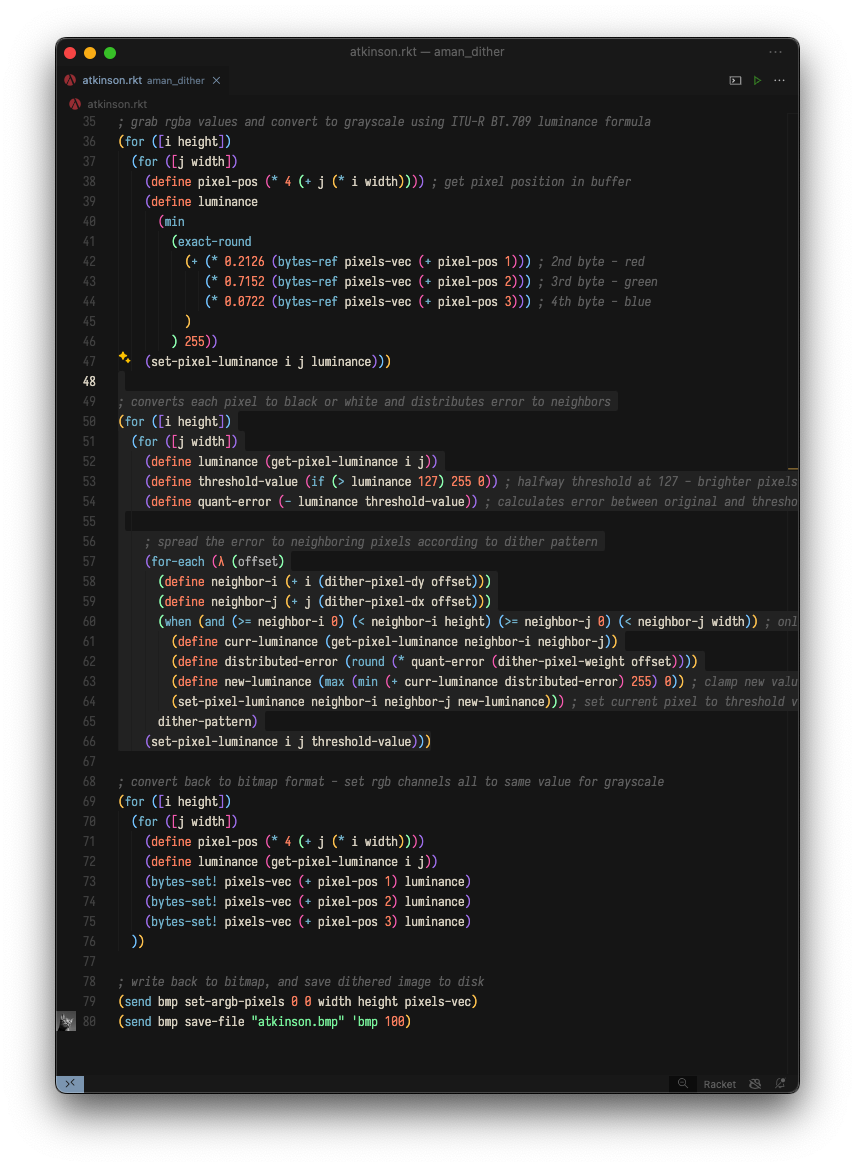
Going through this code, you'll notice that we're following the same steps we abstractly discussed earlier.
If we run this program, we successfully get a monochrome image of our cat that was created using Atkinson dithering:

What an improvement from thresholding!
Creating a new dithering algorithm
Atkinson dithering is great, but what's awesome about dithering algorithms is that there's no definitive "best" algorithm! Each algorithm will lead to slightly different-looking results.
For instance, I mentioned earlier that Atkinson dithering only diffuses three-fourths of any given pixel's quantization error (one-eighth of the error across six different pixels). This makes images "pop" more, but it also has the undesired effect of making certain really dark or really light areas of an image appear "blown out."
Other error-diffusion dithering algorithms, like Floyd-Steinberg, don't tend to have this issue, since they diffuse the entire quantization error across neighboring pixels. However, this is at the expense of contrast across the image.
Of course, what looks better (and in what context) is all up to personal preference, but I wanted to create an algorithm that was a happy medium between Atkinson and Floyd-Steinberg: an algorithm that propagates exactly seven-eighths (7/8) of any given pixel's error to its neighbors.
Here's the pattern I came up with:

And here it is in Racket code:
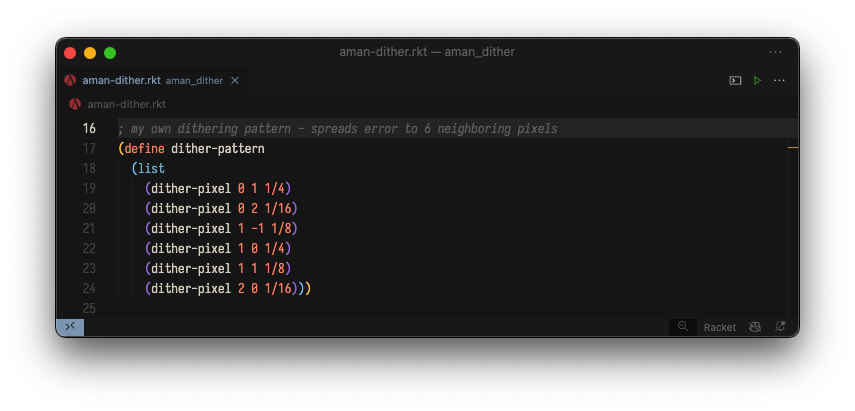
That's it - that's the only change that needs to be made from the implementation of Atkinson's algorithm! My very own dithering algorithm is born. 🙃
Here's the cat photo with my dithering algorithm applied:
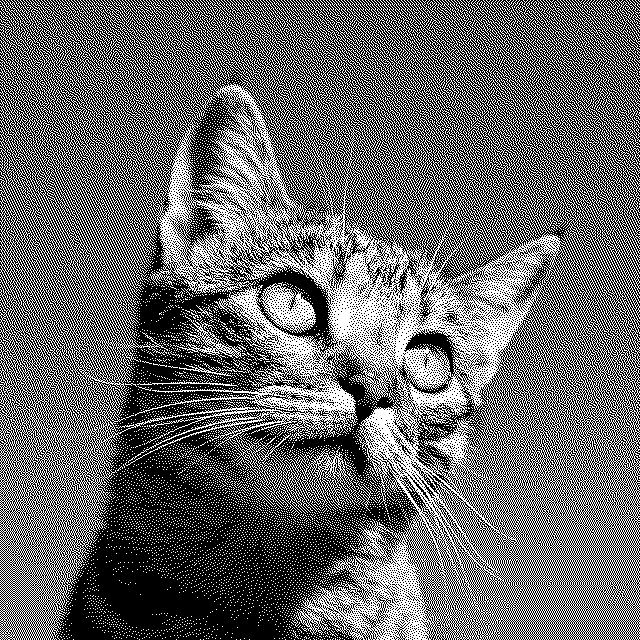
I don't know about you, but I like it!
References
Hey, my name is Amanvir Parhar (but you can call me Aman)! I'm an undergrad studying C.S. at the University of Maryland, College Park.
If you liked this post, feel free to check out my other work, and follow me on X/Twitter!